
Last updated October 30, 2026
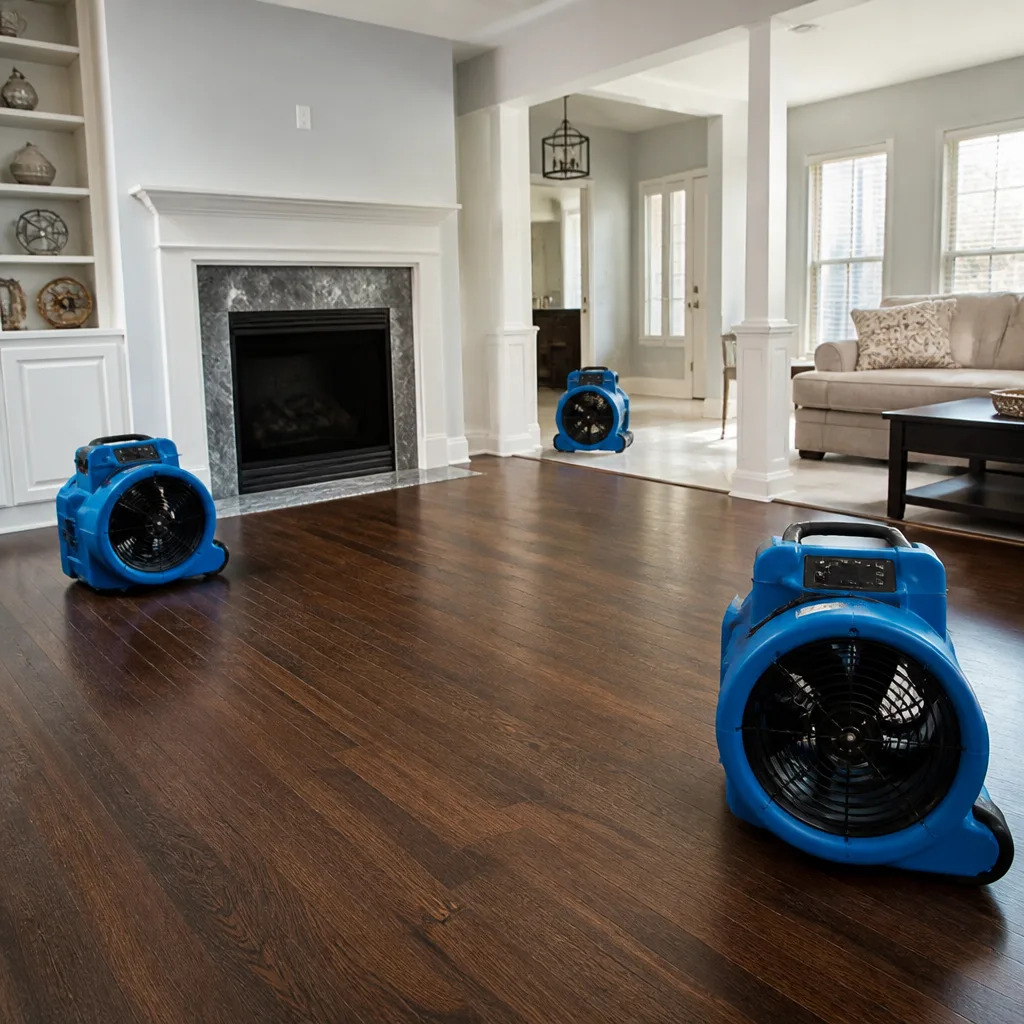 Water damage drying
 Fire & smoke cleanup
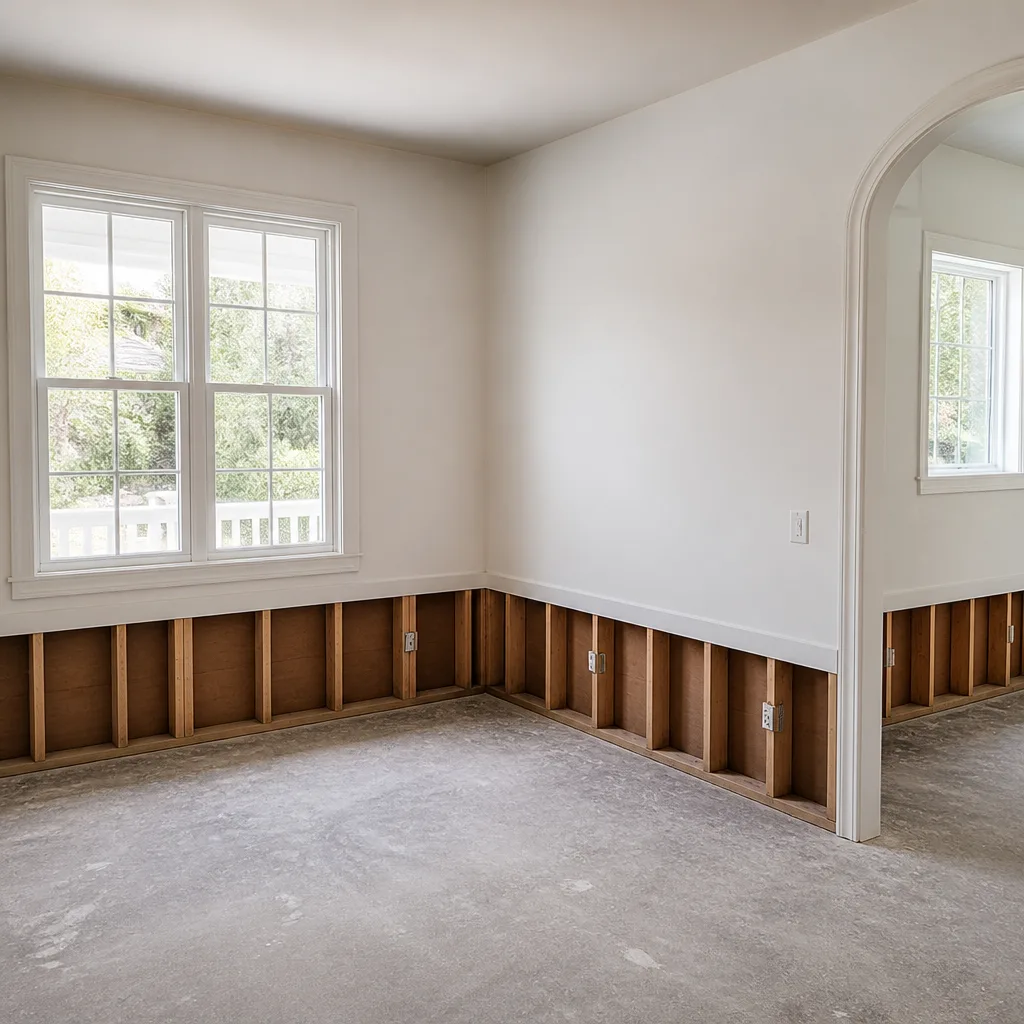 Mold remediation
 Storm response
 Sewage cleanup
 Reconstruction
Free visual inspection and a written scope of work before any mitigation begins - photos, moisture readings, and drying logs go in your claim file
The scope we write is the scope we bill. Anything new gets shown to you, in writing, before we touch it.
Get your free estimateWater Damage Restoration Troubleshooting: Common Problems and How to Fix Them
Most water damage guides tell you what went wrong with your property. This one diagnoses what went wrong with the restoration itself. We’ve pulled moisture mapping data from hundreds of drying jobs in Costa Mesa, and the pattern is consistent: when a drying effort fails, it fails for identifiable, fixable reasons. Equipment pulled too early. Airflow mapped incorrectly. A cavity never tested for trapped moisture. The mold you find six weeks later isn’t bad luck. It’s a predictable outcome of a drying job that was closed before it was finished. This guide walks through the most common restoration failures, what causes them, what questions to ask your contractor, and how to tell a genuinely completed job from one that was simply declared complete. For a broader look at the process, see our Complete Guide to Damage Restoration in Costa Mesa. At the end, you’ll know exactly what to look for in a restoration company’s process, whether you’re in Mesa Verde, College Park, or anywhere else in Costa Mesa dealing with water damage.
Quick Answer
Water damage restoration troubleshooting comes down to verifying three things: that moisture readings are actually declining day over day, that all affected materials were found using proper moisture mapping, and that the drying equipment was sized and placed correctly for your square footage. If your contractor can’t show you daily moisture logs proving the drying curve is trending down, your restoration is incomplete, no matter how dry the surface feels. The fix is to demand documented drying data measured with professional-grade equipment, and to refuse closure until every affected material reads below the dry standard for your climate. Oxford Restoration Co offers free estimates in Costa Mesa at (877) 265-8058 for anyone who suspects their restoration wasn’t done right.
Restoration work we handle
Table of Contents
- Why “Feels Dry” Is a Failed Drying Job
- Reading Psychrometric Charts: What GPP Actually Tells You
- Signs Your Drying Chamber Was Set Up Wrong
- Why Musty Odor Returns After Restoration
- When Your Moisture Meter Reads Elevated After “Completion”
- Structural Replacement vs. Drying: Knowing the Difference
- Working With Insurance on Disputed Closures
Why “Feels Dry” Is a Failed Drying Job
The phrase “it feels dry” is the most dangerous sentence in water damage restoration. Surface dryness tells you almost nothing about what’s happening inside wall cavities, under subfloors, or behind baseboards. Wood framing in Costa Mesa homes, particularly in the older construction you’ll find in Eastside Costa Mesa or the Freedom Homes tract, can hold enough moisture to support mold growth while feeling completely dry to the touch. Professional drying is governed by a measurable standard: the moisture content of each affected material must return to its dry standard, which varies by wood species, material type, and your regional equilibrium moisture content. In Southern California’s climate, that equilibrium typically sits around 10 to 12 percent for framing lumber. A contractor who pulls dehumidifiers because the carpet surface feels dry to a palm test hasn’t verified anything. They’ve guessed. And when a drying job ends with a guess, the guess is usually wrong.
What this means for you: ask how the contractor determines dryness. If the answer doesn’t involve a moisture meter, a thermo-hygrometer, and daily documentation of readings across multiple test points, the process isn’t following IICRC standards. The Institute of Inspection, Cleaning and Restoration Certification sets the protocol that competent restorers follow. It requires, among other things, that drying be verified by instrument, not opinion. Oxford Restoration Co’s process is built on this standard: we document daily moisture readings at every affected location and don’t demobilize equipment until we can demonstrate, in writing, that every material has reached its dry goal. If your current contractor can’t or won’t show you that documentation, treat the job as incomplete and escalate accordingly.
Reading Psychrometric Charts: What GPP Actually Tells You
When we run a drying job in Costa Mesa, we track numbers the average homeowner never sees: temperature, relative humidity, and grains per pound, or GPP. GPP measures the absolute amount of moisture in the air, independent of temperature. It’s the difference between relative and absolute humidity, and it matters because warm air can hold more moisture than cool air. A room reading 50 percent relative humidity at 80 degrees contains significantly more water vapor than a room reading 50 percent at 65 degrees. GPP tells you which is which.
Here’s what to look for on a drying log:
- GPP inside should trend down daily. During active drying, the air in the affected room should show declining GPP as the dehumidifiers pull moisture from the air and the materials release it. A flat line over two or three days means the drying isn’t progressing.
- Indoor GPP should approach outdoor GPP. In Costa Mesa, outdoor GPP fluctuates seasonally, but it’s typically a known reference point. If indoor readings remain dramatically higher than outdoor readings after several days of drying, the system isn’t keeping up.
- Wood moisture content should decline independently. Even if air moisture is dropping, the moisture content of studs, sill plates, or subflooring needs its own downward trend. Air can be dry while wood remains wet, especially inside unventilated cavities.
- Sudden spikes indicate a new water source. If a drying job was progressing and then GPP spikes, something changed. A hidden plumbing leak, a broken supply line, or an unresolved exterior drainage issue may still be feeding the problem.
You should never have to interpret these charts yourself. A competent restorer will explain them to you in plain English. But knowing that GPP exists, and that it should be declining, gives you the power to ask the right question: “Can you show me the daily drying data that proves this is working?” If the answer is a blank stare, that’s your answer. Our technicians log this data on every water damage restoration in Lakeview and the wider Costa Mesa area, and we share it with the property owner and the adjuster as a standard practice. You can find more guides & resources on our blog. That level of documentation is what separates an IICRC-certified specialist from a general contractor with some fans and a dehumidifier.
Signs Your Drying Chamber Was Set Up Wrong
A drying chamber is exactly what it sounds like: a contained area where temperature, airflow, and humidity are controlled to extract moisture from materials. When it’s set up correctly, drying happens surprisingly fast. When it’s set up incorrectly, you can run industrial equipment for two weeks and accomplish almost nothing. We’ve measured failed drying chambers all over Costa Mesa, from newer builds in Westside to 1950s post-and-beam homes in College Park, and the failure points are consistent.
Here are the five most common setup errors, in order of how frequently we see them:
- Containment that doesn’t hold negative pressure. If the drying chamber leaks air, the dehumidifiers process air from rooms that weren’t affected, not from the wet materials. The chamber needs to be sealed with proper 6-mil poly and the exhaust handled so the wet air doesn’t recirculate. A simple test: if you can feel air moving under the plastic sheeting, the chamber isn’t sealed.
- Insufficient CFM for the square footage. Airflow is non-negotiable. Every square foot of wet surface needs a certain volume of air movement across it, measured in cubic feet per minute. Too few air movers, or air movers placed where they don’t cover the entire wet area, leaves dead zones where moisture sits and mold develops. A 400-square-foot flooded room needs a specific, calculable number of air movers. Guesswork doesn’t count.
- No airflow mapping before equipment placement. Serious restorers draw or digitally model the affected area, track where the water migrated, identify which walls and floors are wet, and place air movers to maximize contact with those surfaces. Skipping this step is like prescribing medicine without a diagnosis. You might get lucky; you probably won’t.
- Dehumidifier sized for a room, not a drying load. Dehumidifiers move a rated number of pints per day. The rating that matters is the AHAM rating at standard conditions; what you need to know is that a big room with wet drywall and soaked subfloor demands more pint removal per day than a small unit can deliver. Undersized dehumidification shows up as high GPP readings that never come down, and wood moisture content that plateaus.
- No daily adjustment as drying progresses. A drying chamber is dynamic. As materials dry, the temperature and humidity inside change, and the equipment placement needs to change with it. Air movers should be repositioned as areas dry down. Dehumidifiers should be balanced against the daily moisture load. A setup that’s never adjusted is a setup that was probably never correctly designed in the first place.
We’ve built drying chambers in Costa Mesa where the difference between correct setup and incorrect setup meant the difference between a four-day dry and a failed job. If you suspect your drying chamber isn’t working, one of the fastest checks is to ask the contractor for their airflow plan. If they don’t have one, or if the air movers have been in the same position for a week, something’s wrong.
Why Musty Odor Returns After Restoration
The smell is the tell. Water damage has a signature odor: damp, earthy, sometimes sour. When remediation is done correctly, the odor disappears and doesn’t come back. When the odor returns weeks or months after the job was declared complete, the restoration didn’t fail because moisture came back. It failed because moisture was never fully removed in the first place.
Here’s what’s almost certainly happening. Water migrates. It flows into wall cavities, under base plates, into subfloor seams, behind vapor barriers, and into unreachable spaces. A drying job that treats only the visible materials, the drywall face and the carpet pad, leaves those hidden reservoirs untouched. The surface materials dry. The equipment comes out. The drywall looks fine. Then, over the following weeks, the trapped moisture slowly equalizes with the surrounding materials, and the conditions that support mold begin again. The smell returns because the moisture was always there.
We’ve seen this exact pattern in Costa Mesa homes where wall cavities behind bathroom vanities or kitchen cabinets were never opened, tested, or dried. The contractor dried what he could see, marked the job complete, and left. A few weeks later, the homeowner notices the smell creeping back. By the time visible mold appears, the problem has been active for weeks.
The fix starts with proper moisture mapping from day one. Every affected cavity must be identified, opened as needed, tested with penetrating or pin-type meters, and either dried or removed. Wall cavity drying is where Injectidry systems matter. Injectidry pushes dry air directly into enclosed cavities, drying wall interiors without tearing out every square foot of drywall. It reduces demolition, reduces cost, and most importantly, it reaches the water where it actually is. A contractor who doesn’t have this capability will often choose between demolition and incomplete drying, and too many choose the latter.
If the odor has already returned to your Costa Mesa home, don’t wait. Re-test the affected area with a moisture meter. If readings are elevated, the original job failed. Call a certified specialist who will re-map, re-contain, and dry the hidden spaces properly. The RIA, the Restoration Industry Association, has published guidance on odor recurrence after water damage, and the consistent theme is that odor is a symptom of unresolved moisture, not a new event.
When Your Moisture Meter Reads Elevated After “Completion”
You had water damage. A company came out, dried the space, handed you a final invoice, and told you everything’s fine. Then you buy a $40 moisture meter from a hardware store, poke it into a baseboard, and the reading is 18 percent. Now what?
First, some context. Moisture meters need to be used correctly to give meaningful readings. The meter should be set to the correct material mode for wood, drywall, or masonry. The pins should be inserted into the material, not just touching the surface. And the reading should be compared to a dry reference point in an unaffected part of the house. But with those caveats, an elevated reading on a properly used meter is real data. Wood framing in Costa Mesa should generally read around 10 to 12 percent during normal conditions. A reading of 18 percent or higher after a supposed dry-down means the material is still wet enough to support mold, and the job isn’t done.
Here’s what to do, step by step:
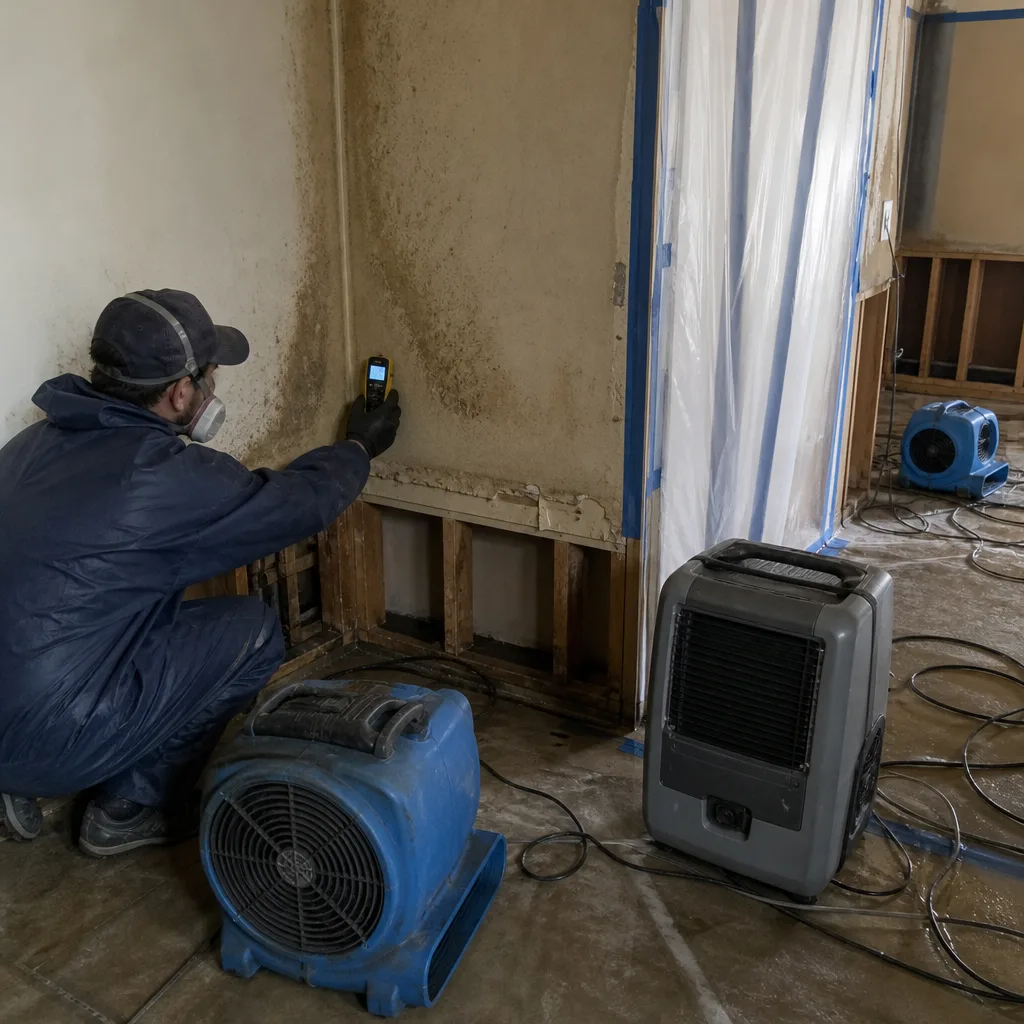
- Document everything. Take photos of the meter against the wall, floor, or baseboard showing the reading. Note the date, time, and exact location. Keep all paperwork from the original restoration, including the drying logs if you received them.
- Call the original contractor in writing. Email is best. State that your moisture meter is reading elevated at specific locations, attach the photos, and ask for a return visit to re-test with their equipment. Give a reasonable deadline.
- If they don’t respond or dismiss you, contact your insurer. Tell your adjuster that you believe the restoration was closed prematurely and that you have meter readings showing elevated moisture. Insurance carriers have an interest in not paying twice for the same loss, and a restoration company that under-dried a job has created a potential second claim.
- Consider a second opinion. An IICRC-certified restorer who wasn’t involved in the original job can perform an independent moisture assessment. This gives you and your insurer an objective baseline. Oxford Restoration Co provides these assessments in Costa Mesa, and we document every reading with photo evidence and a written report, precisely because disputes like this are so common.
- Don’t accept pressure to sign a release. A completion certificate or release that says you’re satisfied with the work is not something to sign while you have documented moisture concerns. Once you sign, your leverage drops considerably.
The important thing to know is that a meter reading isn’t a nuisance objection. It’s the same instrument a professional uses. If your meter says the material is wet, and a dry reference point tests normal on the same device, the reading is valid. A restoration company that disputes your meter without investigating is telling you something about their process.
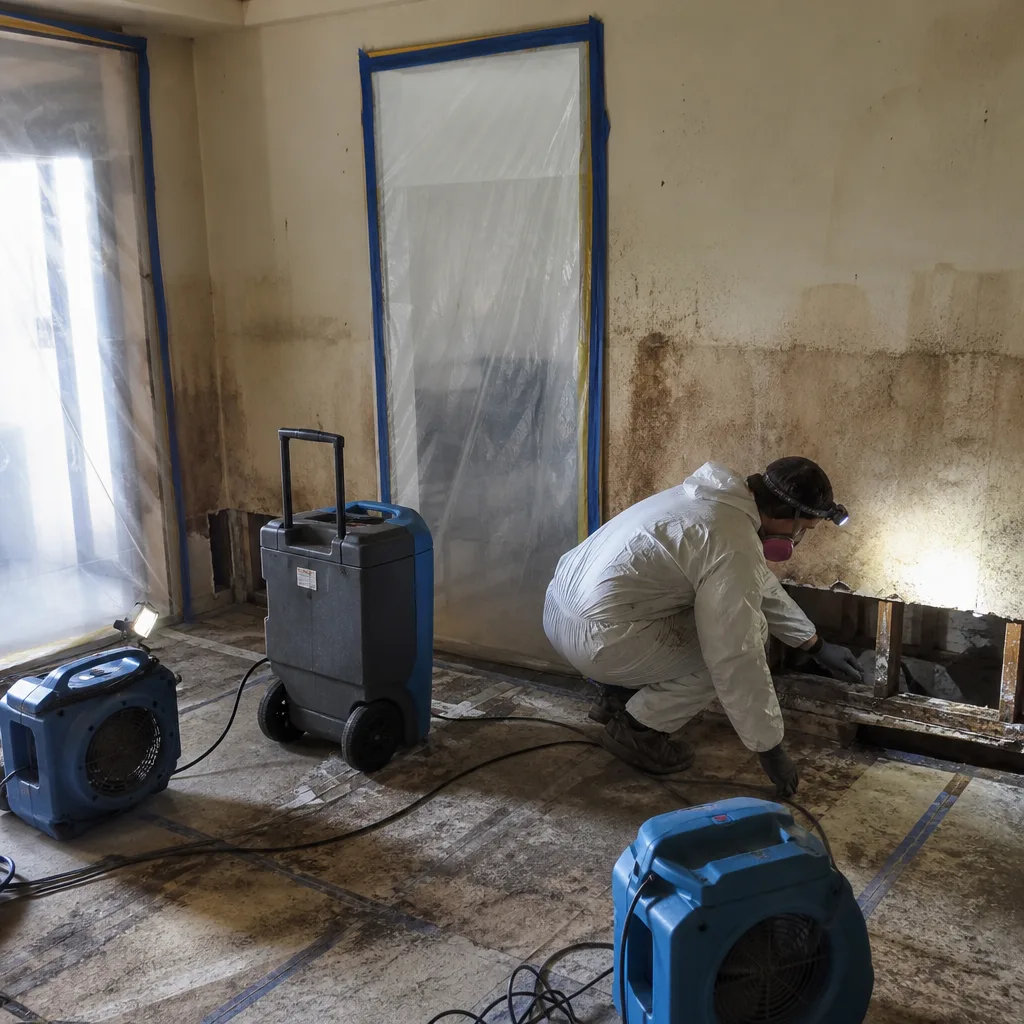
See the difference
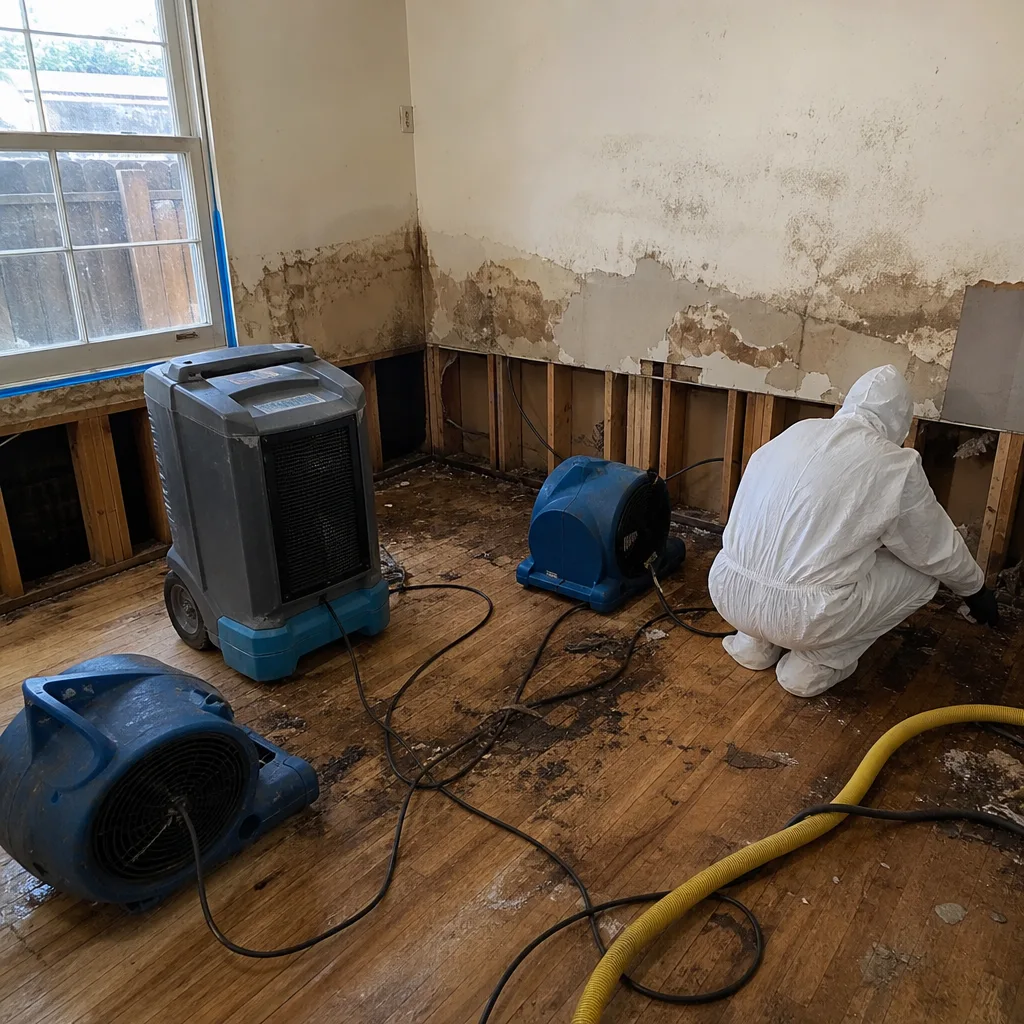 Before
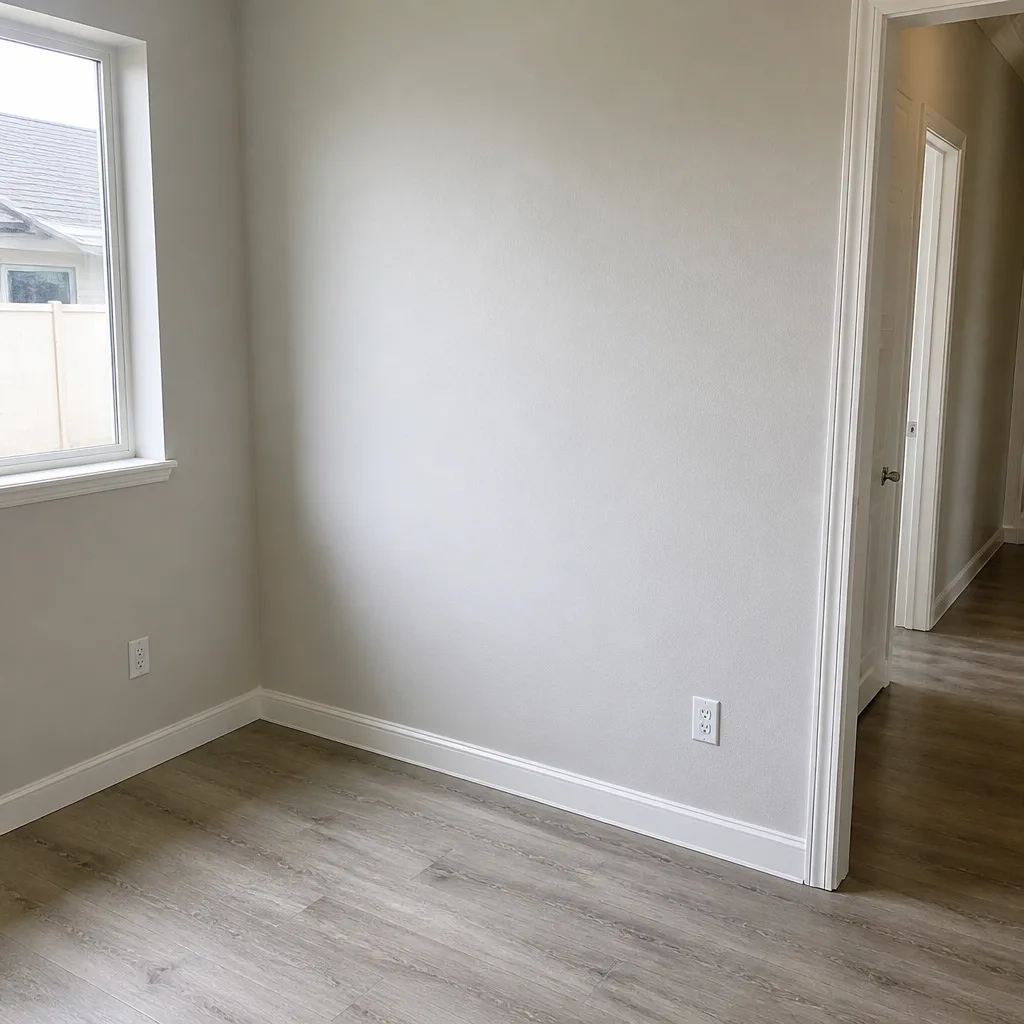 After
 Before
 After
 Before
 After
Structural Replacement vs. Drying: Knowing the Difference
Not everything that gets wet should be dried. Some materials are un-dryable in any practical sense. Others can be dried but shouldn’t be, because the drying process itself creates secondary problems. Knowing which is which is part of what makes restoration a skilled trade rather than equipment rental.
Here’s a straightforward rule set:
- Drywall that’s been saturated for over 72 hours usually needs to be removed. Gypsum loses structural integrity when wet, and prolonged saturation creates the exact environment mold wants. Trying to dry heavily saturated drywall in place is slower, less reliable, and often more expensive than cutting it out and replacing it.
- Insulation in a wet wall cavity has to go. Fiberglass insulation loses its R-value when wet, and it doesn’t regain it after drying. Cellulose insulation is even worse: it compresses, holds moisture, and becomes a mold substrate. The insulation comes out, the cavity gets dried, and new insulation goes in.
- Solid wood framing can almost always be dried. Studs, joists, headers, and sill plates are dense but dryable. Given enough airflow, time, and correct dehumidification, framing will return to its dry standard. This is where professional equipment matters: a Dri-Eaz or Phoenix dehumidifier with proper air movement can dry framing in place that would previously have required removal.
- Engineered wood and OSB are a judgment call. Oriented strand board and some engineered lumber products swell and delaminate when wet. Once delaminated, they don’t return to original condition, and drying them in place just leaves you with a dry but structurally compromised material. Subflooring made of OSB that’s visibly swollen at the seams should usually be replaced, not dried.
- Flooring depends on the material. Solid hardwood can often be dried in place with an Injectidry mat system or similar professional drying equipment. Laminate and engineered wood? Usually not. Vinyl plank over a wet subfloor traps moisture, and the plank typically has to come up to dry what’s underneath.
There’s also a problem on the opposite end: over-drying. Wood that’s driven far below its equilibrium moisture content will re-absorb moisture from the air after the equipment leaves. In Costa Mesa’s climate, where relative humidity can swing significantly between the June gloom mornings and dry Santa Ana afternoons, over-dried wood will shrink, crack, and sometimes warp as it re-acclimates. A competent restorer knows when to stop drying. The goal isn’t the lowest possible moisture reading; it’s the reading that matches the material’s dry standard for this region. This is why we monitor daily and remove equipment as soon as the dry goals are met, not after some arbitrary number of days.
For a more detailed look at what’s involved in a proper structural dry-out, see our guide on Water Damage Restoration in Lakeview, which covers the process from initial assessment to final verification.
Working With Insurance on Disputed Closures
Insurance companies and restoration contractors operate on different incentives. The contractor wants to complete the job, collect final payment, and move to the next loss. The insurer wants the claim closed with documented proof that the property was returned to pre-loss condition. When a contractor cuts corners and the insurer doesn’t catch it, you’re the one who pays, in the form of a recurring mold problem or water damage that should have been settled the first time around.
Here’s what you need to understand about how disputed closures work on the insurance side. Your policy requires the insurer to pay for the direct physical loss, which includes proper drying. If the drying was inadequate and you can demonstrate that, the insurer has a contractual obligation to address the resulting damage. But insurers are not going to take your word for it. They’re going to want documentation, ideally from an independent source with recognized credentials.
That’s where third-party documentation matters. An IICRC-certified restorer with no stake in the original claim can perform a post-restoration assessment, measure the moisture in the affected materials, and produce a written report that either confirms the original restoration was complete or identifies specific areas where it fell short. We’ve provided these assessments in Costa Mesa more times than we’d like, and they’re often the difference between an insurer closing the file and an insurer reopening it.
When you’re dealing with a disputed closure, keep these things in mind:
- Never let the contractor’s defensiveness become your problem. If you have meter readings that suggest elevated moisture, you have a legitimate concern. The contractor’s reputation isn’t your responsibility.
- Work through your adjuster, not against them. Most adjusters want the claim closed correctly the first time, because a reopened claim is costly for the carrier. Present your documentation and ask them to send an independent inspector or approved restorer for a second assessment.
- Photo documentation is non-negotiable. Every time you take a moisture reading, photograph the meter in place. Every conversation with the contractor or insurer should be summarized in email. This isn’t about being difficult; it’s about creating a paper trail that protects you.
- If mold has already developed, don’t wait for the insurance conversation. Mold is a health and indoor air quality issue that compounds quickly. The remediation needs to happen, and the documentation needs to demonstrate that it resulted from the original water loss. See our guide on Mold Remediation in Lakeview for a walk-through of what proper mold remediation involves.
One more thing worth knowing: not all restoration companies will work with you on insurance disputes, because it’s adversarial work. Some will. We will. If you’re in Costa Mesa and you believe a water damage restoration was closed prematurely on your property, we’ll perform a documented moisture assessment and, if we find elevated readings, we’ll advocate with your insurer on your behalf. That advocacy is part of what it means to be a restoration specialist rather than a contractor who dries carpets.
Common Mistakes to Avoid
- Accepting a verbal “it’s dry enough” as a completion standard. Without moisture documentation, you have no verification and no recourse. Written drying logs with daily readings are the minimum, not the gold standard. If you didn’t receive them, ask for them. If they don’t exist, the job wasn’t done to IICRC standards.
- Letting a contractor refuse to test wall cavities during the initial assessment. Water travels. If you had standing water in Costa Mesa, especially in an older home with plaster walls, the water went somewhere you can’t see. A restorer who doesn’t check cavities is guessing. This is exactly why affordable cavity drying exists with systems like Injectidry: there is durable equipment and established process for getting inside the wall without tearing it all out, so “we’d have to open the wall anyway” is no longer an excuse to simply not test it.
- Allowing drying equipment to run with no daily monitoring. A dehumidifier that’s been running for a week without anyone checking its output could be running at partial capacity, or its tank could be full, or it could be undersized for the load. Daily monitoring adjusts the system as conditions change. No monitoring means no management.
- Applying paint or finish over dried materials without verifying moisture content. Painting over drywall that reads 14 percent moisture is a recipe for bubbling paint, failed adhesion, and mold growth under the new finish. Verify dryness before covering anything up.
- Ignoring the source of the water while treating the symptoms. If the water came from a failed plumbing fitting, a roof leak, or poor exterior drainage, the restoration is pointless until the source is fixed. In Costa Mesa, we see recurring water damage from oversaturated planters against stucco walls and from older cast-iron drain lines that have failed underground. A drying job that doesn’t address the source is a scheduled re-flood.
- Choosing a contractor based on the lowest estimate without verifying equipment and process. The difference between a $3,000 drying job and a $9,000 drying job is often equipment quality and process discipline. The $3,000 job with consumer-grade dehumidifiers and no documentation may cost more over the long run than the professional job with Dri-Eaz and Phoenix equipment and daily logs. Cheap drying is often just expensive drying delayed.
When to Call a Professional
You should call a professional restorer the moment you suspect any of the following: your moisture meter reads elevated weeks after a restoration was completed; a musty odor has returned to the same area; you see new staining, bubbling paint, or warping along baseboards you know were affected; or you discover that the original contractor never documented daily drying data. A professional assessment includes a full moisture map of all affected materials, verification of hidden cavities, and a written scope of what’s needed to reach true pre-loss condition. If you’re in Costa Mesa and you suspect your restoration wasn’t finished properly, we perform documented moisture assessments, coordinate directly with your insurer, and provide written reports you can use to make your case. Not sure who to trust? Read our guide on Choosing the Right Damage Restoration Brand: A Buyer’s Guide for Costa Mesa. Oxford Restoration Co offers free estimates in Costa Mesa, and we’re honest about what we find, even when the finding is that the original job was actually fine. Call (877) 265-8058 to schedule an assessment.
Frequently Asked Questions
If your floor still reads elevated moisture after several days of supposed drying, it usually means the drying system wasn’t designed for the floor’s construction: the dehumidifier may be undersized, the subfloor may be trapping water beneath a non-breathable flooring material, or the airflow isn’t reaching the wet material. In Costa Mesa homes, vinyl plank and laminate floors over wood or concrete subfloors are a frequent culprit, because the flooring traps moisture against the substrate. The fix is almost always a professional re-assessment with proper moisture mapping and equipment matched to the actual material stack, not another week of running the same fans.
Often, yes, but it depends on the materials. Solid wood framing, tile, and concrete can typically be dried in place with proper containment, dehumidification, and air movement. Saturated drywall, insulation, and some engineered wood products usually can’t be effectively dried in place and need removal. The key variable is whether your restorer has cavity-drying capability, like Injectidry systems, that can dry inside walls without removing all the drywall. A specialist who knows how to use this equipment will minimize demolition without compromising the dry-out. A general contractor with fans will tear out more than necessary or dry less than required.
Most residential drying jobs in Costa Mesa take between three and five days when properly built, monitored, and adjusted daily. But that’s an estimate, not a guarantee. A large loss with saturated subflooring and multiple affected rooms can run longer. A small, contained spill might be dry in two days. The point isn’t the calendar; it’s the drying curve. Daily readings should show moisture trending down at every test point. If they aren’t trending down, extending the same setup won’t help. The setup needs to change.
No. A musty odor that persists or returns after a restoration job indicates unresolved moisture, typically in a wall cavity, subfloor, or other hidden space. The odor is a symptom, not a separate problem. It should be investigated with a moisture meter and, if needed, a thermal camera or borescope to identify the wet area. We’ve found trapped water in Costa Mesa homes in places as unexpected as behind a tiled shower that was never opened during the original restoration. If the previous restorer left moisture behind, a properly documented assessment will find it, and the fix involves properly drying that area, not masking the odor.
It depends on documentation. If you can show that the original restoration was inadequate, with meter readings, photos, and preferably an independent assessment by an IICRC-certified restorer, your insurer may cover the additional work. Insurers have an obligation to restore your property to pre-loss condition, and that obligation isn’t met if the original job left water in the structure. But the burden of proof is on you. That’s why documentation matters from day one. If mold has developed as a result, see our guide on Mold Remediation in Lakeview for information on how mold remediation works and how it interacts with the insurance process.
Yes. Oxford Restoration Co has performed water damage restoration in Costa Mesa for over a decade, including moisture mapping, structural drying, Injectidry cavity drying, and post-restoration verification. We’re IICRC-certified and operate professional-grade drying equipment from Dri-Eaz, Phoenix, XPOWER, B-Air, and Injectidry. We also handle Fire Damage Restoration in Lakeview and the broader Costa Mesa area as part of our role as a single-source restoration specialist. Call (877) 265-8058 for a free estimate or a documented moisture assessment.
The Bottom Line
Water damage restoration has one job: remove all the water, from all the materials, everywhere it went. When that job is done correctly, the drying data proves it: moisture content trending down, GPP approaching ambient levels, every cavity tested and accounted for, equipment sized and placed for the actual load. When it’s done incorrectly, the warning signs are specific: surfaces that feel dry while meters still read wet, musty odors that return, corners that were never opened or mapped, drying logs that don’t exist. In Costa Mesa, where coastal humidity and older housing stock create particular challenges, the difference between a successful and failed restoration is process, not luck. Ask to see the data. Verify the readings. And if the numbers don’t support the contractor’s claim that the job is done, don’t accept the claim. For a thorough look at the full restoration process, start with our Oxford Restoration Co home page.
Written by the team at Oxford Restoration Co, serving Costa Mesa since 2011.