
Last updated October 30, 2026
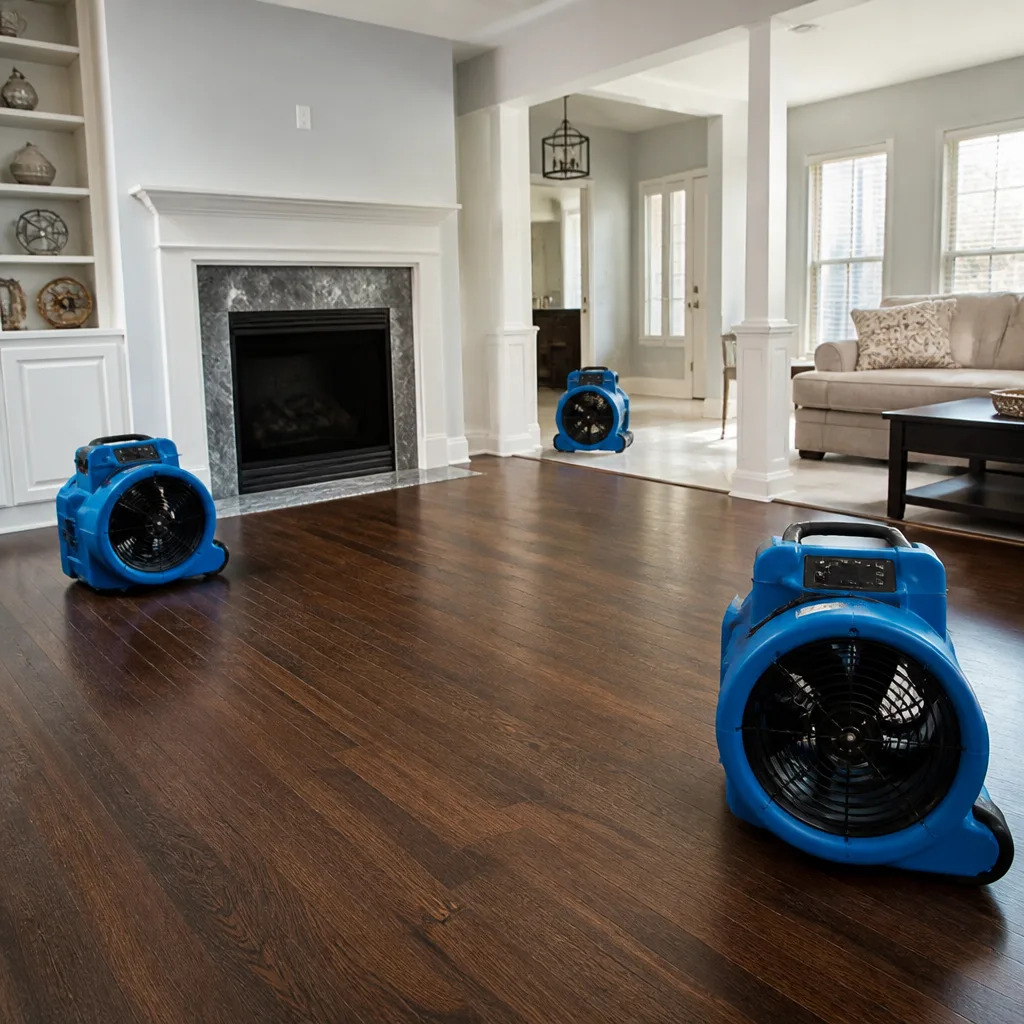 Water damage drying
 Fire & smoke cleanup
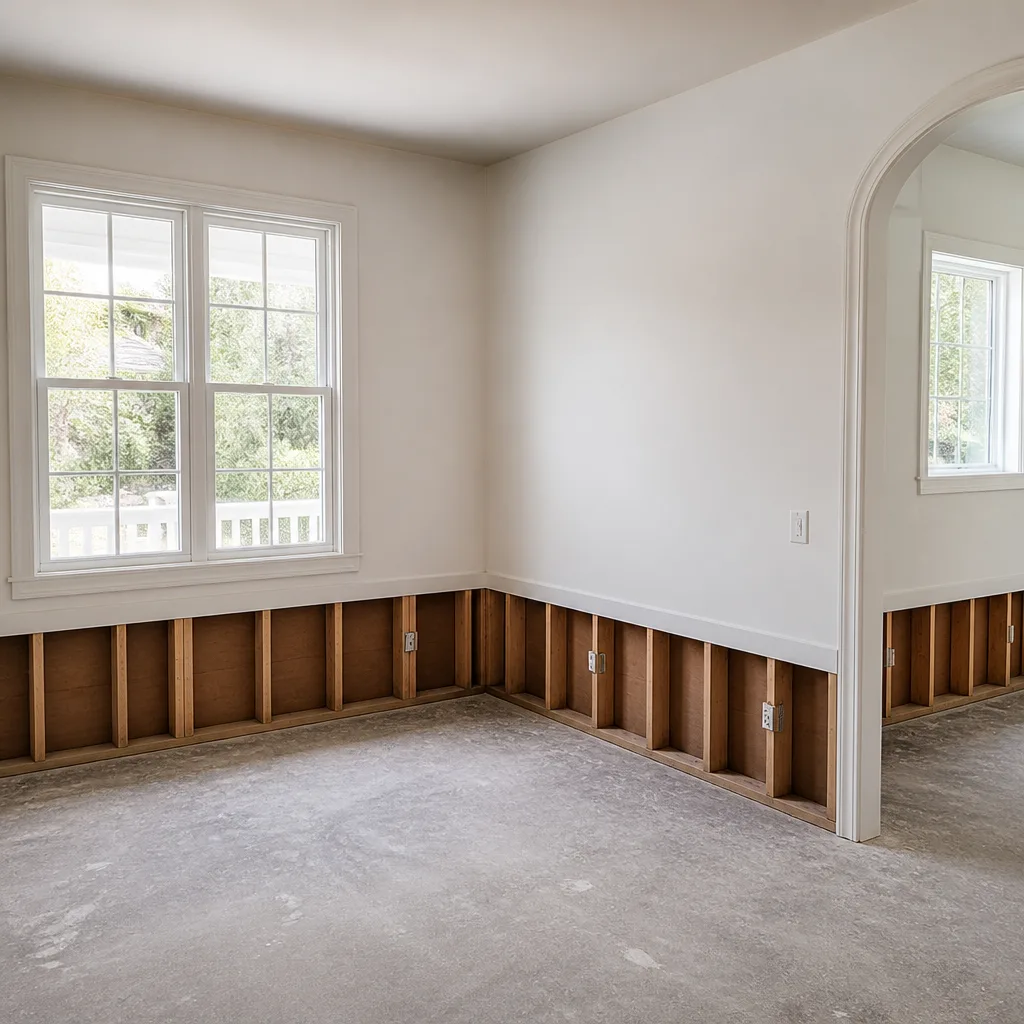 Mold remediation
 Storm response
 Sewage cleanup
 Reconstruction
Free visual inspection and a written scope of work before any mitigation begins - photos, moisture readings, and drying logs go in your claim file
The scope we write is the scope we bill. Anything new gets shown to you, in writing, before we touch it.
Get your free estimateWater Damage Restoration Maintenance Checklist for Costa Mesa Homeowners
Most water damage maintenance advice in Costa Mesa reads like generic homeowner trivia: clean your gutters, check your hoses, call it a day. But after years of walking through flooded kitchens, swollen baseboards, and crawl spaces that never dried properly, we’ve learned something that rarely makes it into those lists. The homes that recover fastest from water damage aren’t necessarily the ones with the best prevention habits. They’re the ones whose owners understood their building’s specific failure points before water ever touched them. A clogged weep screed or a failed p-trap aren’t just maintenance oversights. They’re conditions that, when water intrusion happens, can turn a Class 1 water loss into a Class 3 by the time a contractor arrives. This guide walks Costa Mesa homeowners through a pre-loss audit of their property, organized around the building components that most directly affect restoration speed, cost, and outcome.
Quick Answer
A water damage restoration maintenance checklist for Costa Mesa homeowners should prioritize inspecting weep screeds in stucco walls, crawl space vapor barriers, HVAC condensate drains, slab-on-grade foundation conditions, and documenting a baseline moisture reading in key building materials. For professional help, explore our Water Damage Restoration services. These five items, checked seasonally, directly determine how quickly and completely a professional restoration contractor can dry your home after water intrusion.
Restoration work we handle
Table of Contents
- Why Weep Screeds in Stucco Walls Matter More Than You Think
- Crawl Space Vapor Barrier Condition: The Hidden Drying Variable
- HVAC Condensate Drains: The Summer Failure Point
- Slab-on-Grade Foundation Inspection Points in Costa Mesa
- Documenting Your Home’s Pre-Loss Moisture Baseline
- A Seasonal Maintenance Calendar for Costa Mesa’s Climate
- Building a Restoration-Ready Home: What This All Adds Up To
Why Weep Screeds in Stucco Walls Matter More Than You Think
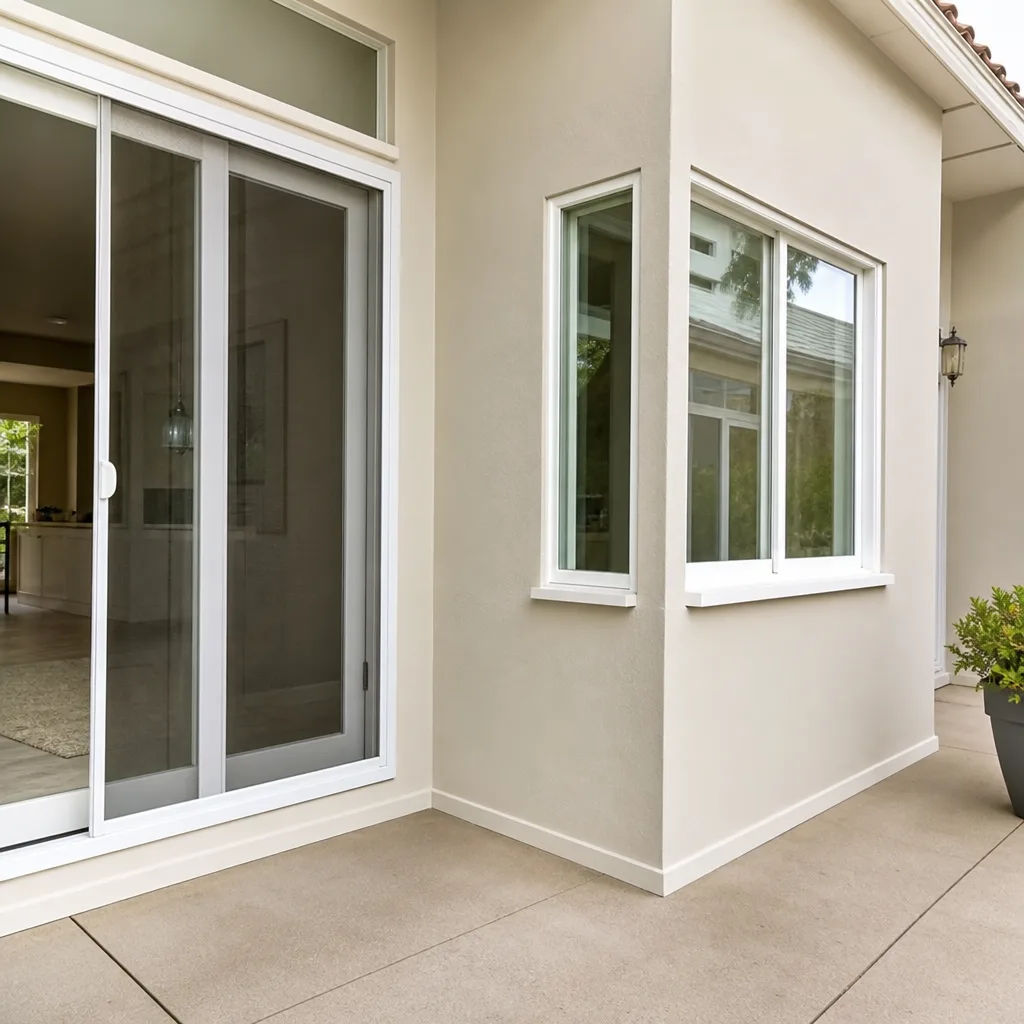
Costa Mesa’s housing stock is overwhelmingly stucco-clad. Walk through neighborhoods from Westside Costa Mesa to Mesa Verde and you’ll see the same three-coat stucco system on homes built from the 1950s through the 1990s. That stucco system has a critical drainage component called a weep screed, a metal flashing at the base of exterior walls that lets moisture escape from behind the stucco. When weep screeds get buried by soil, covered by planter beds, or clogged with paint, moisture gets trapped inside the wall cavity. You won’t see it. The stucco looks fine. But water is accumulating, slowly saturating the building paper and framing behind it.
Here’s the connection to restoration: when a water loss happens in a Costa Mesa home with a compromised weep screed, the moisture content in the lower wall cavity is already elevated before the leak even starts. For a deeper look at these scenarios, see our guide on Water Damage Restoration Troubleshooting: Common Problems and How to Fix Them. A supply line break that would normally be a Class 1 water loss, affecting only a small area with minimal absorption, becomes a Class 2 or Class 3 loss because nearby materials were already holding moisture. Class 3 losses require significantly more equipment, longer drying times, and often partial demolition of wall sections. The restoration bill climbs quickly, and your insurance adjuster will notice.
For your checklist, we recommend inspecting weep screeds twice a year. Here are the specific conditions to look for:
- Buried weep screeds: Soil, mulch, or pavers should sit at least 4 inches below the bottom edge of the weep screed. If landscaping has crept up over it, water can’t drain and wicks up into the stucco. This is common in Costa Mesa yards where years of adding planter beds and soil amendments have raised grade levels.
- Painted-over or caulked weep screeds: The small drainage holes along the bottom edge of the flashing get filled when homeowners or painters apply stucco patch or caulk too liberally. These holes are there by design. Blocking them has the same effect as burying the screed.
- Rust or corrosion on the flashing: Weep screeds are typically galvanized metal. Rust indicates water is sitting on the flashing for extended periods, which means drainage is already compromised.
- Stucco cracks radiating from corners: Cracks near window corners or where walls meet are entry points for rainwater. In Costa Mesa’s occasional heavy winter storms, these cracks can channel significant water into the wall system, where a functioning weep screed is your only line of defense for drying.
If you find buried or blocked weep screeds, a simple correction now can prevent a Category 2 water loss later. Clear the soil, remove excess paint or caulk from the drainage holes, and check for visible staining on interior walls below these areas, which signals moisture already moving through.
Crawl Space Vapor Barrier Condition: The Hidden Drying Variable
Many older Costa Mesa homes, particularly in the College Park and Freedom Homes tracts, sit over crawl spaces rather than slabs. These crawl spaces have a direct and often underestimated effect on water damage restoration. Here’s the mechanism: when a restoration contractor sets drying equipment inside a home with a crawl space, the crawl space becomes part of the drying equation. If the crawl space has a compromised or missing vapor barrier, ground moisture constantly evaporates into the air, raising the humidity level under the house and slowing the drying of floor assemblies above.
We’ve set up drying equipment in Costa Mesa homes where the floor readings wouldn’t drop below 20% moisture content for days, despite running industrial dehumidifiers at full capacity. The culprit? A vapor barrier that had been torn, folded back, or was entirely missing over sections of the crawl space, allowing soil moisture to continuously re-humidify the space. The drying goal we’re working toward is always established based on a dry standard, typically the moisture content of unaffected material in the same building. If your crawl space baseline is 18% moisture content because the vapor barrier failed, then restoring your floors to a “dry” standard becomes a moving target.
For this checklist item, inspect the vapor barrier condition annually. A proper vapor barrier in a Costa Mesa crawl space should be:
- At least 6-mil polyethylene sheeting, though 10-mil or reinforced material is better for durability
- Continuous across the entire crawl space floor, with seams overlapped by at least 12 inches
- Extending up foundation walls by at least 6 inches, ideally secured with fasteners or adhesive
- Free of standing water, ponding, or areas where the sheeting has sunken into low spots
- Not torn, shredded, or pulled away from edges by rodents or foot traffic
If you’re doing any crawl space work, whether it’s HVAC service, plumbing repairs, or electrical work, inspect the vapor barrier before the contractor leaves. It’s disturbingly common for tradespeople to slice or fold back the barrier and not restore it. That small slit in the plastic becomes a persistent moisture source that confounds drying efforts months or years later. Crawl space vapor barriers also interact with Costa Mesa’s coastal climate. Morning marine layer moisture, moderate winter rains, and warm interior temperatures create ideal conditions for crawl space condensation. A functioning barrier is what protects the framing and flooring above from that constant moisture load.
HVAC Condensate Drains: The Summer Failure Point
In Costa Mesa, the highest frequency of interior water damage calls we see in summer months comes not from plumbing failures or roof leaks, but from clogged HVAC condensate drains. When your air conditioner runs hard through August and September, it pulls gallons of moisture from the air every day. That condensation has to drain somewhere, and the drain line exiting the indoor air handler is the pathway. Over months of operation, the drain line accumulates biological growth, dust, and debris. The warm, dark, wet environment inside the pipe is a perfect breeding ground for the sludge that eventually blocks the line completely.
When the drain clogs, the condensate backs up into the drain pan under the air handler. If the pan overflows, water spreads across the attic floor or the ceiling below, soaking insulation and drywall. In some cases, the water runs down through wall cavities before it ever shows as a ceiling stain. By the time you see water, the damage has been happening for hours or days.
The checklist item here is straightforward but often skipped: inspect and clear your condensate drain line before summer peak. We recommend doing this in April or May, before the first sustained heat wave. Here’s what to check:
- Locate the drain line exit: Most Costa Mesa homes have a small PVC pipe exiting the exterior wall near the condenser unit. It should be damp but not dripping constantly when the AC runs. A dry pipe during cooling means a clog upstream.
- Check the drain pan under the air handler: If you can safely access your attic or interior air handler closet, inspect the secondary drain pan under the unit. Any standing water means the primary drain is already partially blocked.
- Look for a float switch: Many newer AC installations include a float switch in the secondary drain line that kills the compressor when the pan level rises. Test it if you can. This is your last line of defense against attic flooding.
- Consider an annual flush: A professional HVAC technician can flush the drain line with compressed air or a wet vac to clear biological buildup. Some technicians use algaecide tablets designed for condensate pans to slow regrowth through the season.
The restoration angle here is drying complexity. Attic water losses are among the hardest to dry properly because heat rises and concentrates in attic spaces, while the affected ceiling drywall and insulation below are hot and wet. A flooded AC drain pan left running overnight can saturate ceiling insulation to the point where it must be removed entirely. That removal costs money, extends the restoration timeline, and adds demolition to a job that might have been a simple drying project if caught earlier. Checking the condensate drain in spring is one of the highest-value hours you can spend on your home in Costa Mesa.
Slab-on-Grade Foundation Inspection Points in Costa Mesa
Newer Costa Mesa construction, particularly homes built from the 1970s onward, sits on slab-on-grade foundations. These foundations carry specific water damage characteristics that homeowners should understand before a loss occurs. A slab foundation channels water migration differently than a raised foundation. When a pipe leaks under a slab, or when water enters through a sliding door or low window, the water doesn’t drain into a crawl space. It moves horizontally across the slab, wicking up into drywall, baseboards, cabinetry, and flooring. The damage pattern is shallow but broad, and the drying process requires lifting flooring materials and drilling targeted drying holes into walls to circulate air through the cavity.
For slab-on-grade homes in Costa Mesa, your maintenance checklist should include annual inspection of the following conditions:
- Exterior caulking and sealant around slab perimeter: Where exterior walls meet the slab, the sealant is your primary defense against rainwater running down the wall and seeping under the wall plate. Costa Mesa’s winter storms can drive rain horizontally, and deteriorated sealant is a common entry point for water during those storms.
- Interior baseboard gaps in wet areas: Check the baseboards near toilets, tubs, showers, and under sinks for warping, staining, or separation from the wall. These are early indicators of slow leaks or slab moisture wicking up through the flooring.
- Flooring transitions and thresholds: In slab homes, water from a supply line leak under the slab often surfaces at expansion joints, door thresholds, or where flooring materials meet. Staining or cupping in these areas suggests moisture moving under the flooring.
- Exterior irrigation zones near the foundation: Sprinkler heads placed too close to the slab can saturate the surrounding soil and create a moisture source that leaches through the slab edge. Watch for areas where grass or soil stays constantly wet near the foundation line.
- Purchase a pinless moisture meter: These meters read moisture content through material surfaces without leaving pinholes. The technology is the same principle used in professional-grade meters, though consumer units are less precise. For baseline purposes, precision matters less than consistency.
- Choose fixed measurement locations: Select 8 to 10 spots throughout your home that are unlikely to be disturbed: inside closet walls, the back of kitchen cabinet interiors, behind doors on interior walls. Note the locations clearly.
- Take readings and record them: For each location, take three readings and average them. Write down the location, date, material type (drywall, wood, etc.), and reading. Store this information with your homeowner’s insurance documents.
- Re-check annually: Take the same readings once a year, ideally in the same season, and update your records. Homes shift over time with climate cycles, and a reading from a dry August differs from a damp February in Costa Mesa.
- Keep the records accessible: If a water loss happens, provide the baseline readings to your restoration contractor and your insurance adjuster. Both will appreciate having a legitimate drying target from day one.
- Clean all gutters and downspouts. Check that downspout extensions carry water at least 3 feet from the foundation.
- Inspect weep screeds for buried edges, blocked drainage holes, and rust, following the checklist in our weep screed section.
- Check exterior caulking and sealant around windows, doors, and where walls meet the slab. Repair deteriorated areas before winter rains.
- Test sump pumps if your home has them, and verify that crawl space vapor barriers are intact and secure.
- Walk the property after the first heavy rain to identify where water ponds against the foundation or where drainage is inadequate.
- Inspect and clear the HVAC condensate drain line, drain pan, and float switch, as detailed in our HVAC section.
- Verify that irrigation heads are not spraying directly onto stucco walls or pooling near the foundation.
- Check indoor plumbing under sinks and around toilets for signs of slow drips. The water connection to the refrigerator ice maker is a frequent leak source.
- Test bathroom exhaust fans to make sure they’re venting moisture outside, not into the attic.
- Review and update your moisture baseline readings if you’ve been maintaining them.
- Monitor the AC condensate line exit pipe during the first weeks of sustained cooling. A pipe that was damp in May and is now dry in July indicates a building clog.
- Watch interior walls and ceilings for new staining or bubbling, which indicate slow water movement through building materials.
- Check the refrigerator ice maker line and washing machine supply hoses for bulges, cracks, or corrosion at connection points.
- If you have a second-story laundry area, consider installing a water alarm behind the washing machine. These devices cost around $15 and sound an alert when water contacts the sensor.
- After any warm spell where the AC has run continuously, do a quick visual check of the attic or ceiling below the air handler for any moisture signs.
Understanding how water moves on a slab also affects how restoration contractors approach your damage. In a crawl space home, we can run drying equipment underneath the floor and dry from both sides. In a slab home, we’re drying from the top down, and flooring materials like tile or vinyl can trap moisture underneath, requiring us to pull the flooring to expose the slab for drying. That’s not a flaw in the construction; it’s simply the physics of slab-on-grade homes. Knowing this before a leak happens helps you understand why certain restoration steps are necessary and why experienced Costa Mesa restoration contractors make the choices they do. For help selecting a qualified provider, read Choosing the Right Damage Restoration Brand: A Buyer’s Guide for Costa Mesa.
Documenting Your Home’s Pre-Loss Moisture Baseline
This is the checklist item that almost no Costa Mesa homeowner thinks about, and it’s the one that can make the most concrete difference in how your restoration project goes. Restoration contractors dry to a dry standard, which is determined by measuring the moisture content of unaffected building materials in your home and targeting the affected materials to return to that same level. If we don’t know what your dry walls actually measure when they’re dry, we’re estimating that target based on typical numbers for similar materials in similar climates.
A pre-loss moisture baseline eliminates that estimation. It gives your restoration contractor a specific, documented target that reflects your home’s unique conditions. In Costa Mesa, where the coastal climate keeps ambient moisture levels higher than inland Orange County, your baseline readings will differ from a home in Fountain Valley or Santa Ana. Documenting your home’s actual dry readings takes about an hour and requires a basic pinless moisture meter, which costs between $40 and $100 at home improvement stores or online.
Here’s the process we recommend:
This process reflects how professional restoration firms approach drying. We use equipment from brands like Phoenix and Dri-Eaz to measure and monitor moisture content throughout a drying project. When we know the dry standard for your home, we can set our equipment to hit that target precisely rather than over-drying or under-drying materials. Over-drying wastes energy and can damage wood flooring; under-drying risks mold growth and repeat damage. A baseline takes the guesswork out of both.
A Seasonal Maintenance Calendar for Costa Mesa’s Climate
Costa Mesa’s climate is mild enough that homeowners often skip seasonal maintenance. We don’t get freezing temperatures that burst pipes, the rain is concentrated in a few winter months, and the summer heat is manageable by inland standards. But the mildness creates a maintenance amnesia. Nothing dramatic happens, so nothing seems urgent. Then a December rainfall over a clogged roof drain causes an interior flood, or an AC condensate overflow in July soaks a ceiling. The seasonal patterns of Costa Mesa water damage are predictable, and a simple calendar addresses the highest-risk items at the right time of year.
We’ve broken the Costa Mesa maintenance year into three periods, each with specific water damage prevention tasks tied to the building conditions discussed in this guide:
Fall: Before the Rainy Season (October through November)
Spring: Before Summer Cooling Season (April through May)
Summer: Peak Demand Months (June through September)
This seasonal rhythm aligns with how water damage actually happens in Costa Mesa. The damage doesn’t respect your calendar, but the conditions that cause it are seasonal, and anticipating them is entirely within your control.
Building a Restoration-Ready Home: What This All Adds Up To
The maintenance items in this guide share a common purpose. They’re not just about preventing water damage, which is impossible to fully achieve. They’re about making sure that when water damage happens, and statistically it will, your home is in the best possible condition to be restored completely and quickly. A home with functioning weep screeds, a sealed crawl space, clear condensate drains, and documented dry standards is a home where a restoration contractor can work efficiently from hour one. The drying targets are established, the materials respond predictably, and the restoration timeline is as short as the physics allows.
Costa Mesa homeowners who’ve experienced water damage know the alternative. The restoration process drags on, the equipment runs for days longer than expected, the moisture readings won’t stabilize, and the final bill is larger than anyone anticipated. Some of that variability is unavoidable, inherent in the nature of water movement through building materials. But a meaningful portion of it is preventable through the maintenance conditions this guide has outlined.
We see this distinction in our work. Homes that have been maintained with an awareness of their building envelope dry faster and more completely than homes where years of deferred maintenance have created a moisture-loaded starting point. The owners of these homes aren’t necessarily more diligent about gutter cleaning or hose replacement. They understand the building science of their particular house. They know what a weep screed does, why the crawl space vapor barrier matters, and what their normal moisture readings are. That knowledge isn’t esoteric; it’s the practical groundwork for a successful restoration if and when water intrudes.
Common Mistakes to Avoid
- Ignoring a dry condensate drain line in summer: When the AC runs and the drain line is dry, that’s not efficiency. It’s a clog. The water is backing up somewhere, and that somewhere is likely your ceiling or attic insulation. Address it within days, not months.
- Painting over weep screed drainage holes: When repainting exterior stucco, painters routinely fill the small drainage openings along the bottom of the weep screed. This happens constantly in Costa Mesa during routine repainting projects. Specify to your painter that the weep screed holes must remain open.
- Assuming newer homes don’t need vapor barrier checks: Even in newer Costa Mesa construction, crawl space vapor barriers get torn during original construction, subsequent HVAC work, or pest control visits. Age doesn’t protect the barrier; inspection does.
- Skipping the moisture baseline until after a loss: Once water has saturated your walls, it’s too late to establish a legitimate dry standard. The baseline has to exist before the damage. This is the single most undervalued pre-loss action a homeowner can take.
- Treating slab leaks as plumbing-only problems: A slab leak in Costa Mesa is both a plumbing issue and a water damage issue. The plumber fixes the pipe; the restoration contractor dries the structure. Hiring only the plumber leaves your wet flooring, walls, and cabinetry to dry on their own, which they won’t do properly.
- Ignoring small seasonal shifts in moisture readings: If your annual baseline readings are creeping upward year over year, that’s an early warning signal of a slow leak, rising groundwater, or broken vapor barrier. Small shifts matter in restoration, where drying targets are set based on these exact numbers.
- Failing to coordinate landscaping with drainage: Costa Mesa homeowners love lush plantings against the house, but continuous irrigation against a stucco wall buries the weep screed and saturates the soil at the foundation. Keep plants and irrigation at least 2 feet from exterior walls.
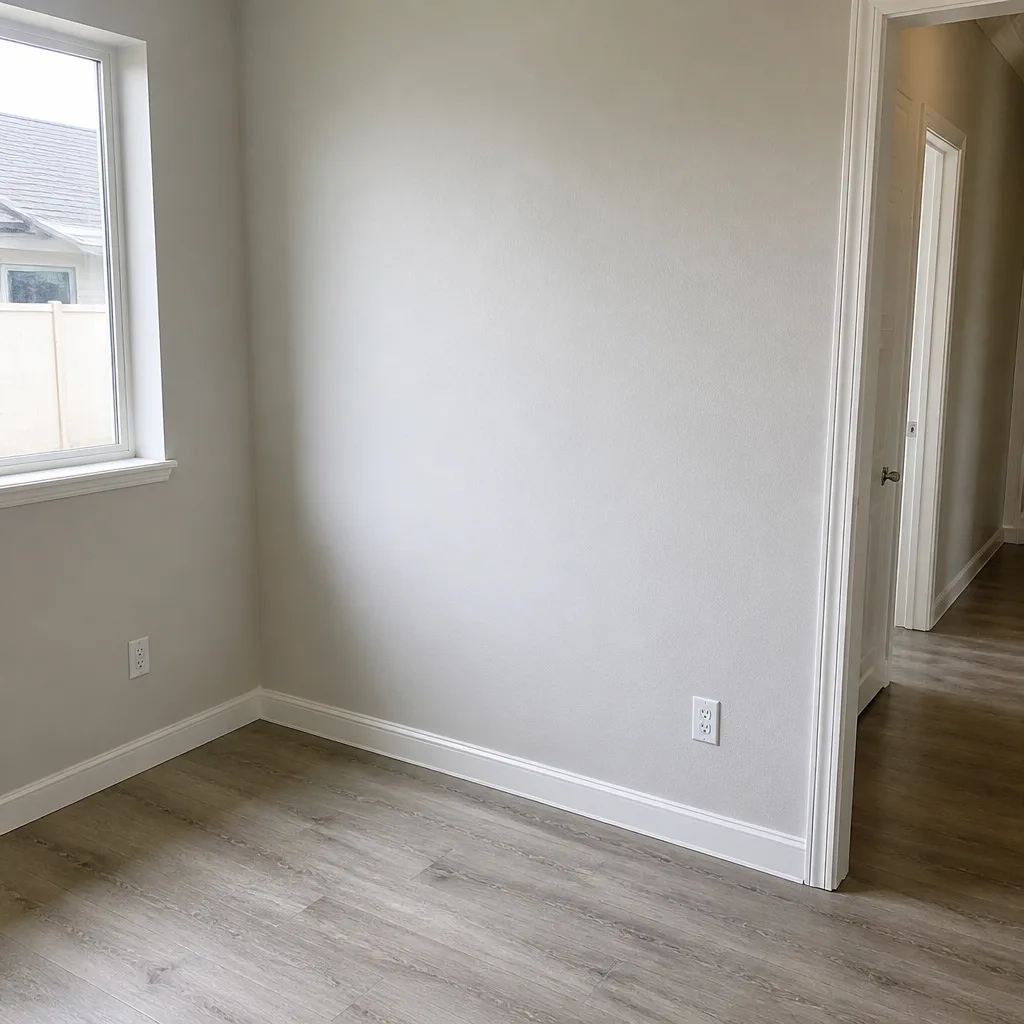
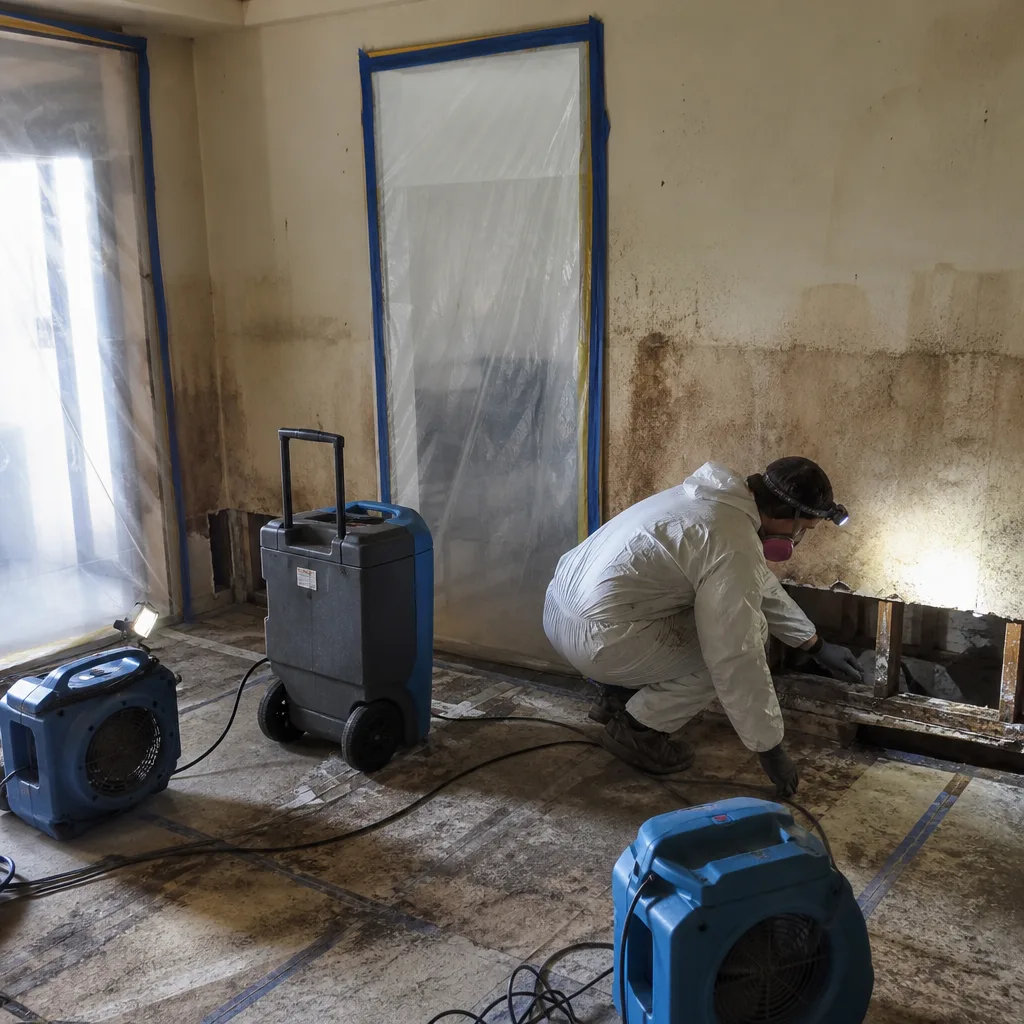
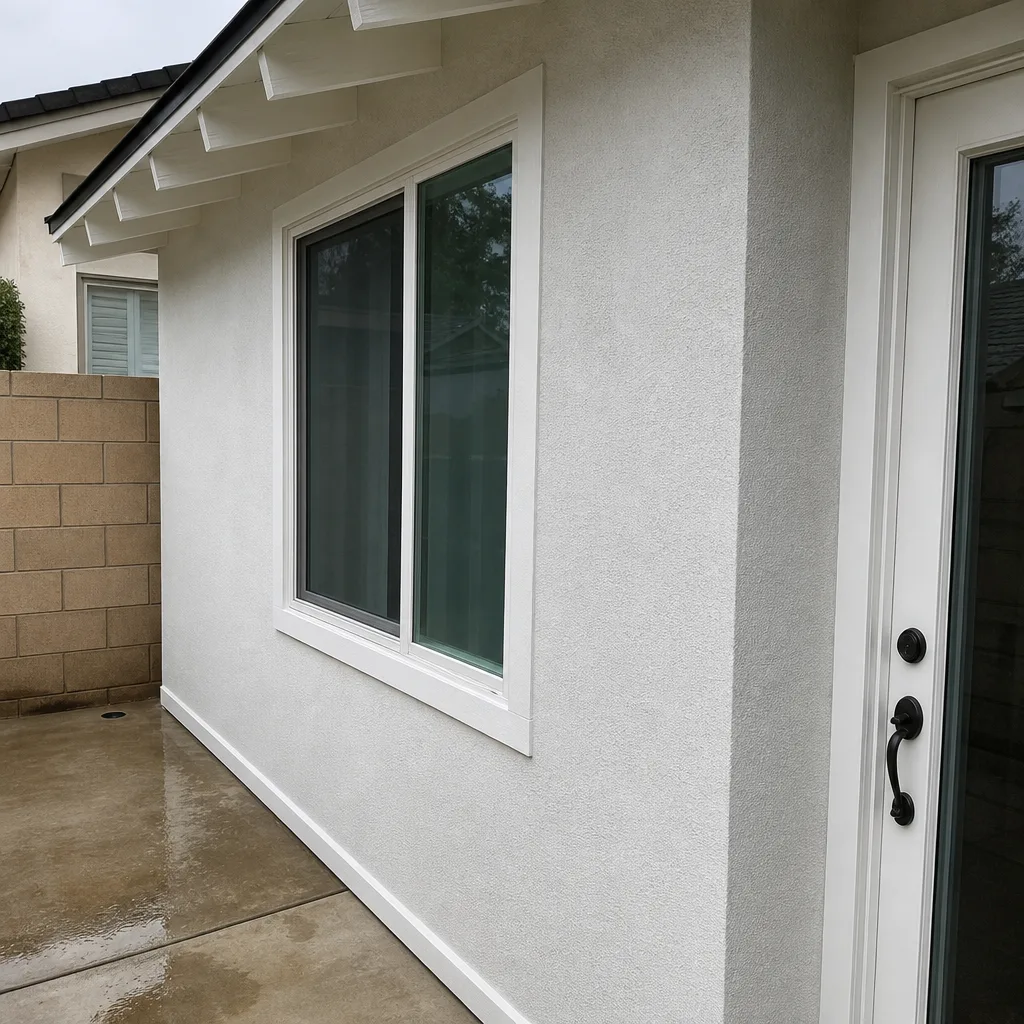
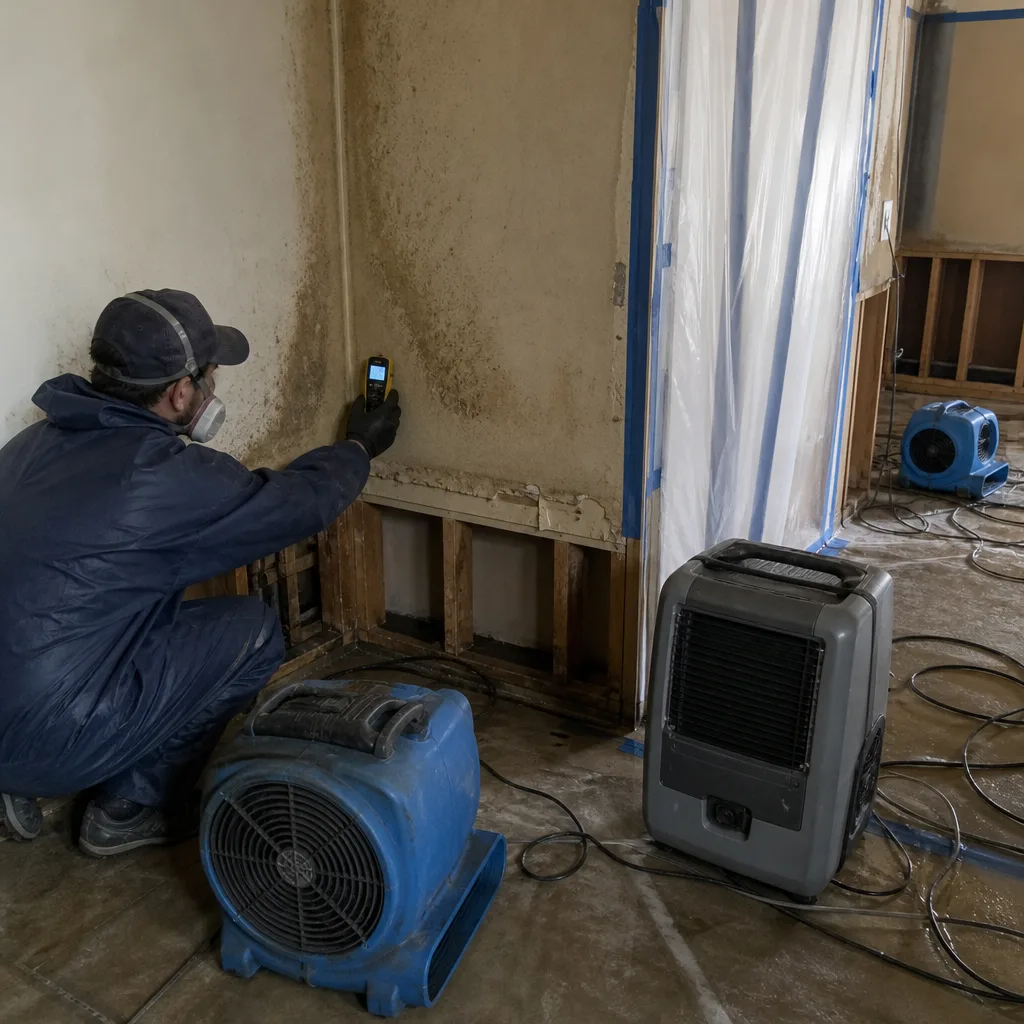
See the difference
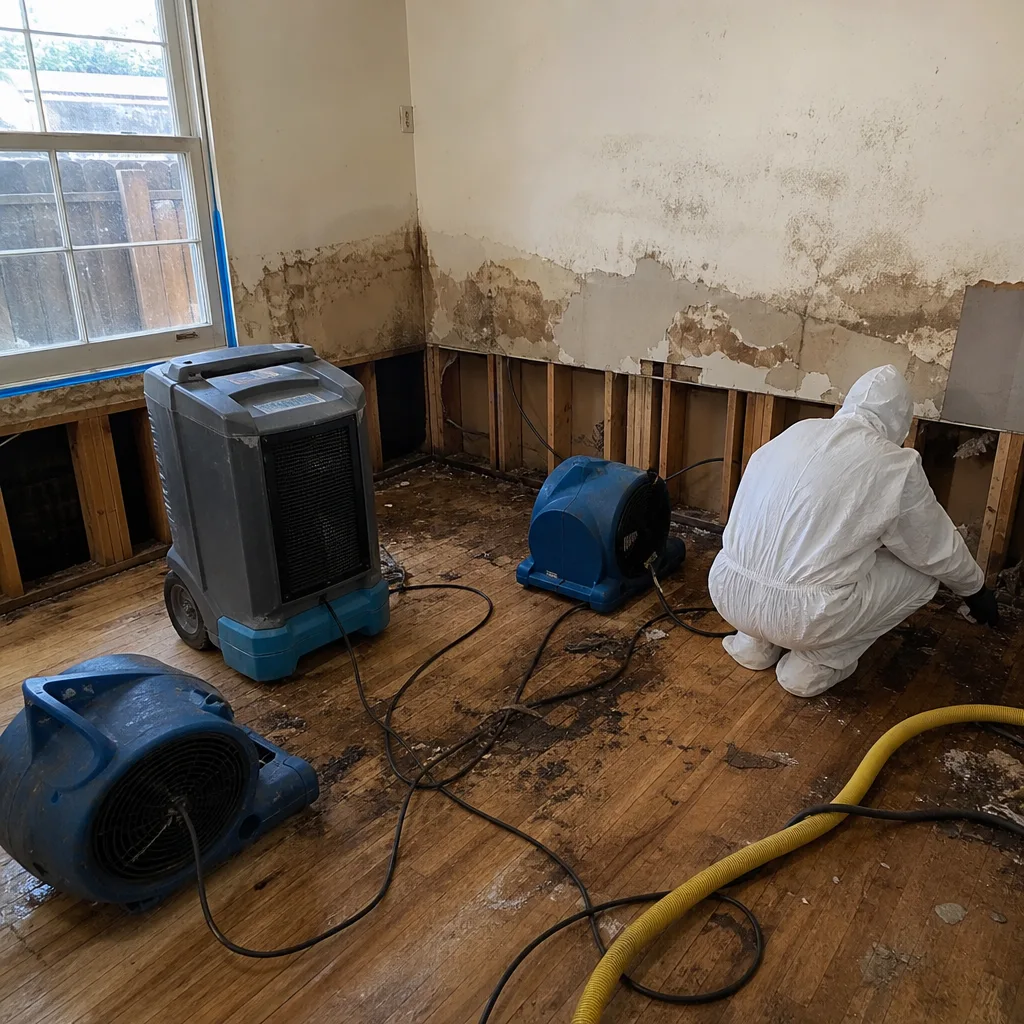 Before
 After
 Before
 After
 Before
 After
When to Call a Professional
Some conditions on this checklist can be corrected with simple DIY work: clearing a downspout extension, re-securing a loose vapor barrier edge, or replacing a faucet washer. But certain findings warrant a professional assessment before they become active water damage. If you find standing water in the crawl space, consistent moisture staining on interior drywall, a completely clogged condensate line that has already overflowed, or cavity moisture inside stucco walls indicated by bubbling paint or soft spots, call a restoration specialist before the condition worsens. For water damage that has already occurred, Oxford Restoration Co offers free estimates in Costa Mesa. Call (877) 265-8058 for an assessment. Our IICRC-certified process and industrial drying equipment, including Injectidry systems for wall cavity drying without demolition, are designed to return your home to pre-loss condition efficiently.
Frequently Asked Questions
Twice a year is sufficient for most Costa Mesa homes: once before the winter rainy season (October) and once before summer cooling season (April). Each inspection focuses on different systems. The fall inspection covers exterior drainage, weep screeds, and crawl space conditions. The spring inspection covers HVAC condensate drains, irrigation, and interior plumbing connections. Homes with known vulnerabilities, such as recurring clogged drains or older plumbing, benefit from quarterly checks.
A weep screed is a metal flashing at the base of stucco walls that drains moisture from behind the stucco. When weep screeds are buried, painted over, or clogged, water gets trapped in the wall cavity, where it saturates framing and building paper. In a water loss scenario, a compromised weep screed means your wall cavities start wetter than they should, which can escalate a minor leak into a major restoration project. Costa Mesa’s stucco-dominant housing stock makes weep screed maintenance especially relevant.
Most of the inspection and prevention items in this guide are DIY-friendly with basic tools: a moisture meter, a flashlight, and the willingness to spend a few hours looking at your home’s structure. For more guides & resources on protecting your home, visit our blog. The conditions that require professional attention are active water intrusion, visible mold growth, standing water in crawl spaces, or moisture readings that don’t return to normal after drying. These situations require professional-grade drying equipment and moisture management strategies, not homeowner-level fixes.
If you find mold growth during any inspection, do not disturb it. Disturbing mold releases spores into the air and can spread contamination to other areas of your home. Isolate the area if possible, reduce foot traffic, and call a professional mold remediation company. Oxford Restoration Co provides Mold Remediation in Lakeview and surrounding Costa Mesa areas, using containment and professional drying protocols. The full assessment should be done by a credentialed specialist before any cleanup work begins.
Costa Mesa’s coastal humidity, particularly the morning marine layer, slows natural evaporation and can extend drying times compared to inland Orange County. This is why professional restoration firms use industrial drying equipment, like Phoenix and XPOWER dehumidifiers and air movers, to overcome ambient humidity. The same equipment that dries a house quickly in Phoenix, Arizona works against higher ambient moisture in Costa Mesa, which is why local experience and proper baseline readings matter.
Yes. As a damage restoration specialist, Oxford Restoration Co handles water damage from clean water sources like supply lines and appliance leaks, as well as more complex gray and black water situations from sewage backups and storm flooding. Our IICRC-certified process applies the same drying standard regardless of water category, with additional containment and sanitation protocols for contaminated water. We also handle the related Fire Damage Restoration in Lakeview and mold remediation that often accompany water losses, so you work with a single-source specialist rather than coordinating multiple contractors.
The Bottom Line
Water damage restoration in Costa Mesa is influenced by building conditions that other maintenance lists rarely discuss: weep screed drainage in stucco assemblies, crawl space vapor barrier integrity, HVAC condensate management, and slab-on-grade water migration. Each of these factors determines how quickly and completely a professional restoration contractor can dry your home when water intrudes. The most effective maintenance checklist is one that addresses these restoration-critical conditions, documented through annual moisture baseline readings and seasonal inspections timed to Costa Mesa’s climate patterns. When water damage does occur despite prevention efforts, our Water Damage Restoration in Lakeview services and equipment from Dri-Eaz, Phoenix, and Injectidry are positioned to respond quickly. For a free estimate, call (877) 265-8058. This guide and all our services are part of Oxford Restoration Co home, serving Costa Mesa and surrounding communities.
Written by the team at Oxford Restoration Co, serving Costa Mesa since 2011.